Two things define a typical 'project day'.
First, there is the mornings, normally spent at my desk on the computer. This covers normal communications, business record keeping, research, - and preparing, writing and laying out blog postings (like this one).
Second, there is an afternoon session in the shop. This includes equipment set up - and actually working at the forge.
What that might look like? (1)
I have been trying to document all the ongoing work on the project. There was time spent cataloguing all the blooms, fragments and partial bars from a decade of iron smelts. There is normally also photographs and records kept on the finished bar produced on a specific work session. I've also been trying to keep the camera handy to take images of specific aspects of the ongoing work. Now and again I try to take enough images of the whole session to document the entire process of bloom to bar, set by step (2).
Now this is not exactly easy to accomplish, being both worker and photographer at the same time. Working the metal is very time dependant, specific heats being required for various processes. The camera also 'sees' deeper into the infra-red than the human eye, so records things much differently than what you might see if you were standing in the shop. Another problem is capturing a crisp image in the dim light necessary in the workshop. Flash images are crisp, but at the cost of washing out the visible colour of the hot metal.
So, this is what I did on the workshop session on Thursday April 5 ...
(click on any image for the full sized version)
Bloom - Smeltfest 2006, Smelt B
Ore - Granular Hematite
Furnace - Medium shaft, standard set up
Starting Weight - 2165 gm
Bloom Condition - somewhat granular, likely mid carbon content
Objectives - 1) Working with a larger sized bloom
2) Creation of large plate with intentionally ragged edges (for use creating a bowl form)
Error Number One I have been looking up the details of the bloom composition AFTER my working sessions.
I should have taken more care on selection of the base bloom for the specific objective (!) The higher carbon blooms are naturally more likely to fragment when working, and are not the best suited to the specific purpose in mind here.
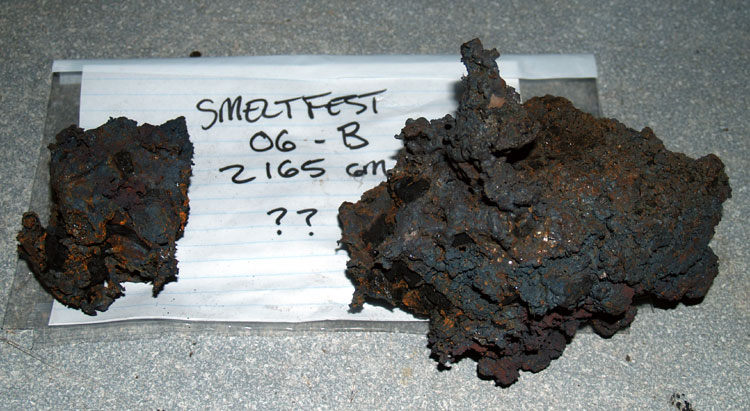
On examining the starting bloom, it was seen there was a fragment on one end only loosely attached. This piece was worked loose and set aside for later processing. The larger piece remains was weighed to 1770 gm.
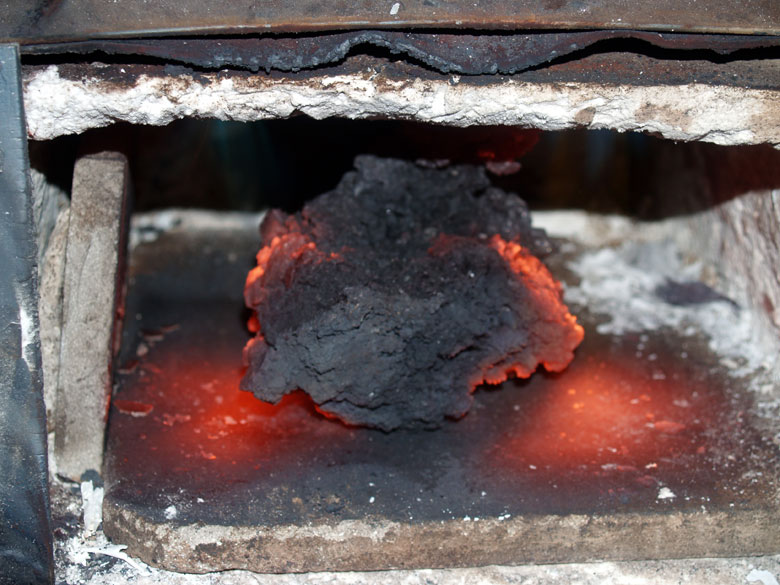
This piece would still fit into the double burner propane forge for pre-heat. The shot above is taken just after the forge itself was lit, so you can see the internal chamber itself has not come up to operation temperature.
The more important function of using the gas forge is to allow for a generous heat soak period - to ensure that the heat has penetrated through the whole mass. This continues while I am setting up the coal forge for the work session. This normally takes about 30 minutes to clean, screen, light and get through the coking cycle into a correct condition for forge work.
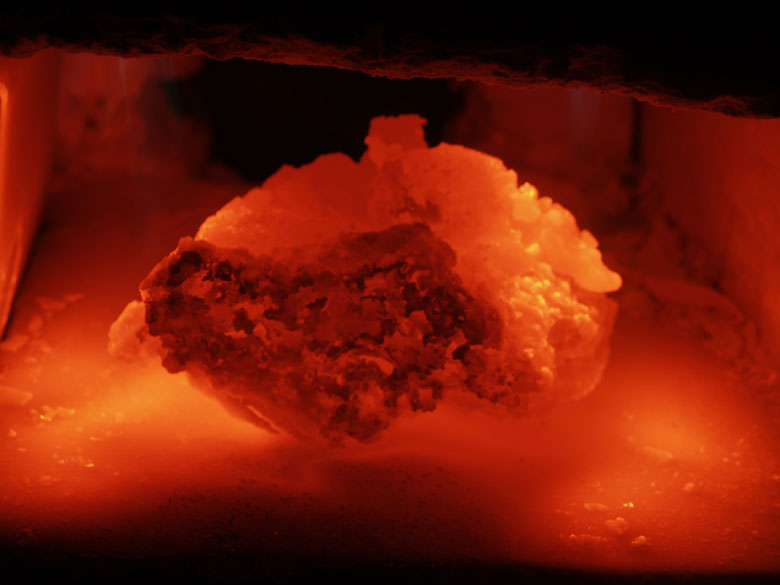
This is the condition of the bloom after 20 plus minutes heat soak. This propane forge will at best produce a 'bright orange to almost yellow' heat level. Although this is fine for general forge work, it is not quite hot enough to weld.
So now that the coal forge is ready, I transfer the bloom over to the (much hotter!) coal fire.
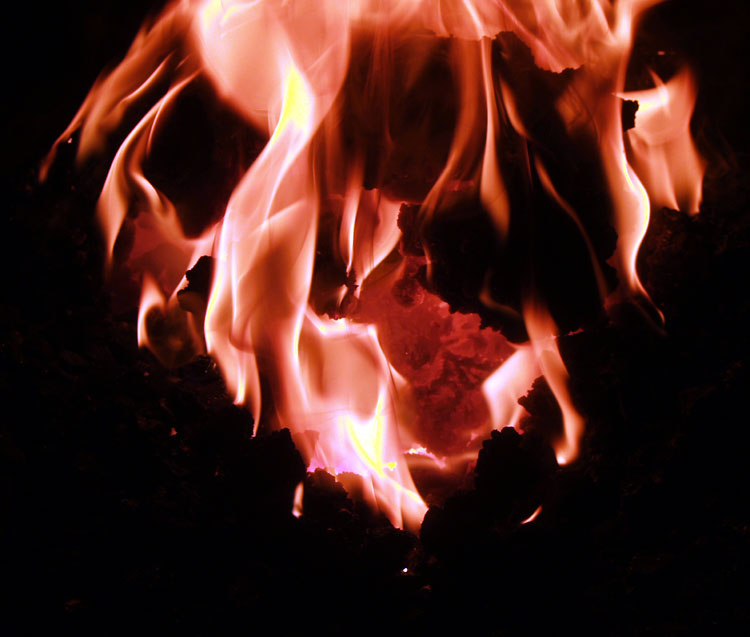
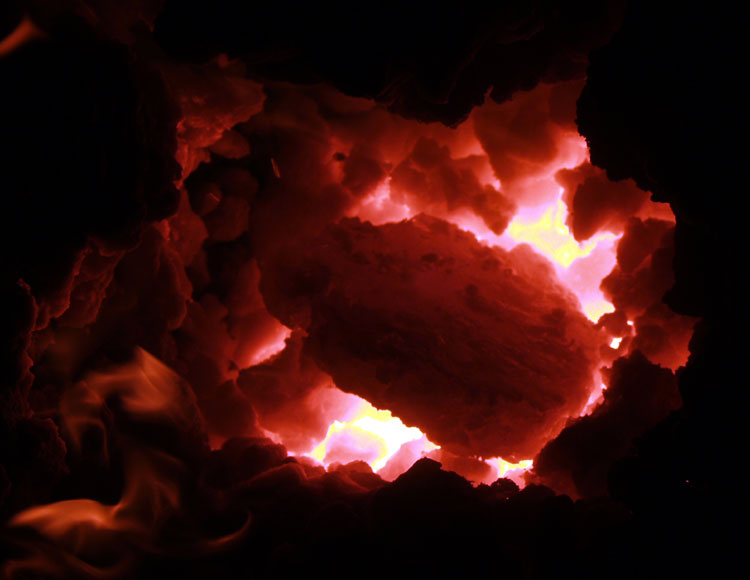
In this available light image, you get some idea of one of the first problems, which is simply fitting a bloom mass of this size into my existing coal forge - and effectively heating it. My fire box is a fairly large one, roughly 9 x 7 x 6 deep. I can easily get the *depth* of fuel for a hot fire. The problem is getting even heat around both edges of the large bloom mass. The forge is set up with a standard bottom blast, which means the primary heat direction is from the bottom as well (watch for this and its effect later).
Care is taken to increase the heat of the mass relatively slowly. The piece is constantly turned and flipped so there is the best chance of getting the whole mass to an even temperature. The intent is to get the mass up to welding temperature for the compression phase.
The first forging steps are carried out on the hydraulic forging press:
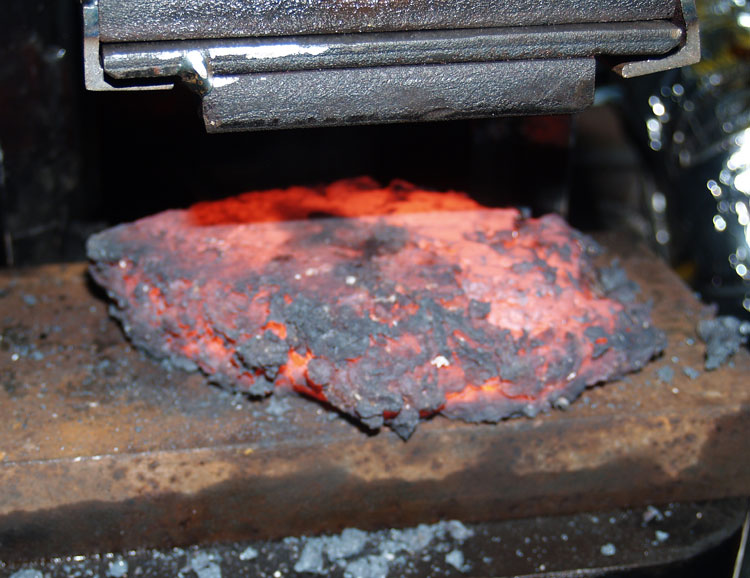
The first compression uses the larger flat plate die, also with the larger full sized bottom plate. The bloom is compressed along its natural top to bottom axis, with the flatter (top) side placed down. With quick work, it is then flipped and compressed again. At this point the 'cake' is roughly 3/4 inch thick, and still very ragged, especially on the edges.
The huge advantage of the press is that it is *squeezing* the often fragmented bloom mass together, rather than *pounding* it, as would be the case using my air hammer. This is especially important when working up the more granular higher carbon blooms. (The hematite blooms are almost like solid pieces of brown sugar in texture.)
The cake is placed back into the coal forge and brought up to welding heat again. Now the more compacted shape makes for more even heat penetration into the centre. At this point the piece is not so large that there is not fairly even heat distribution from the top and bottom of the fire.
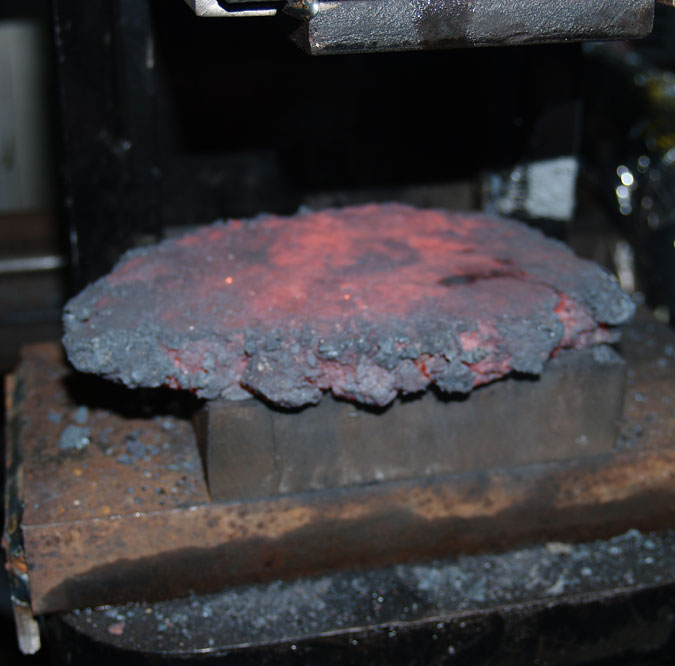
Taking into account the action of the press, a second bottom plate is added. The cake is compressed down closer to 1/2 inch thick.
Back to the forge for another series of welding heats. This work is done with the hand hammer at the anvil. The ragged edges seen in the photo above are gently welded in towards the centre. This is done about 1/4 of the circumference at each welding heat. (A total of 5 heats were taken here)
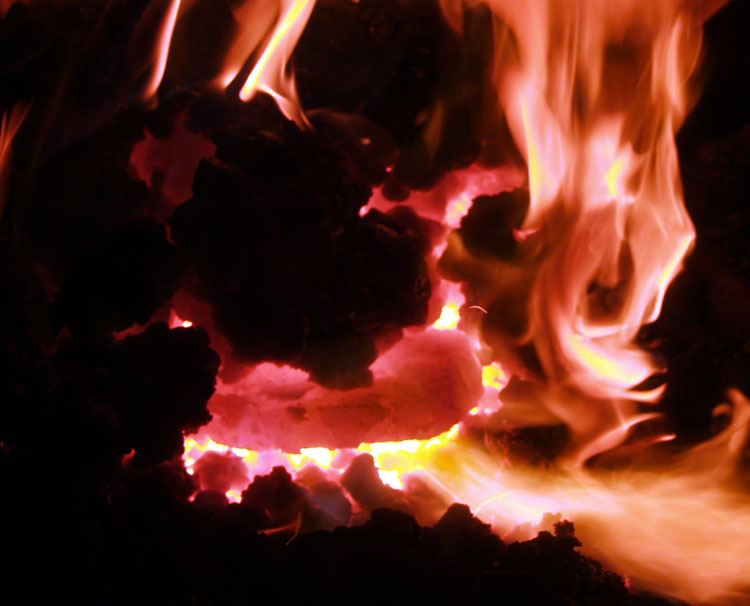
This shot is heating prior to the last compression step. You may spot a developing problem. The size of the plate is now large enough that it effectively blocks the air blast from the bottom of the forge, not letting enough oxygen into the top layer of fuel. There is now a very marked difference in the heat being applied to the bottom surface, compared to that on the top.
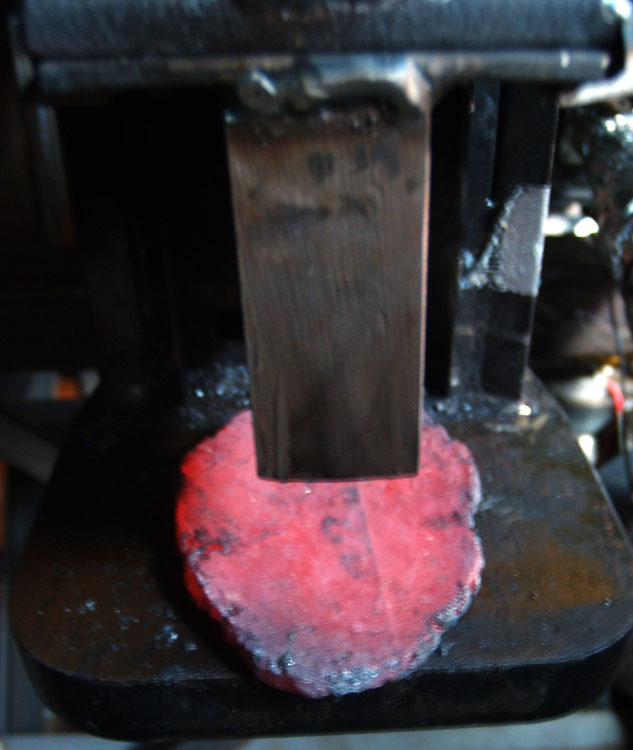
The narrow 'slot' die has been placed on the press. The surface of the plate is worked over (total three compressions on the first side, four on the second). At the end of this step, the plate has been reduced to about 3/8 thick.
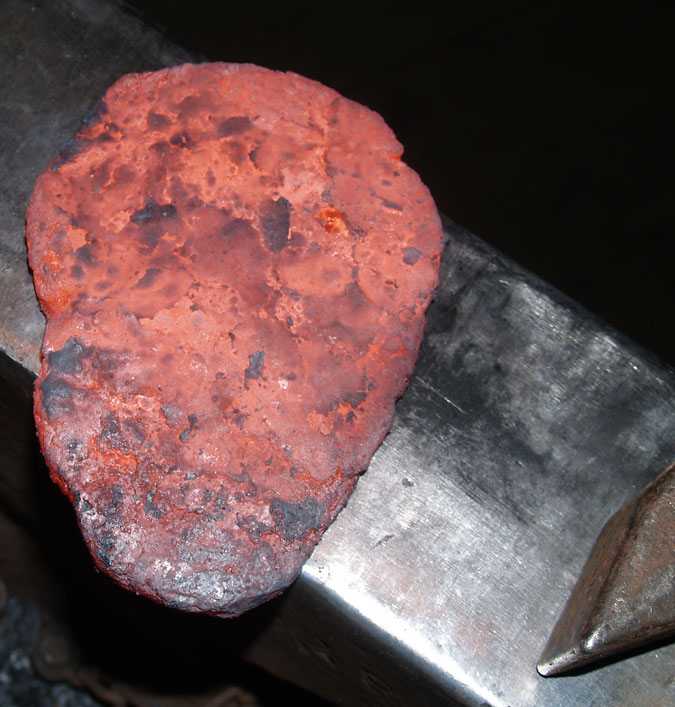
(there is a gap in the images here)
Next the work shifts over to the air hammer. The plate after compression is a rough oval. As the intended application is for a bowl, a more symetrical shape is desired. For that reason, the placement of the piece on the air hammer is with the long axis of the dies running the same direction as the long axis of the metal. Due to the combination of metal size and small die size, only one half of the metal can be worked at a time. So there are a number of heat / work cycles required. An attempt is made to start each cycle back up to welding heat.
Error Number Two Remember that higher carbon metals are *much* more prone to overheating.
My attention got pulled away (by something) and I ending up letting the thin plate get drastically overheated at one point. The fire itself also was starting to perform less consistently (3).
The end result here was that I ended up burning out a small chunk of the plate. As well there were some serious flaws / cracks running through one side of the surface.
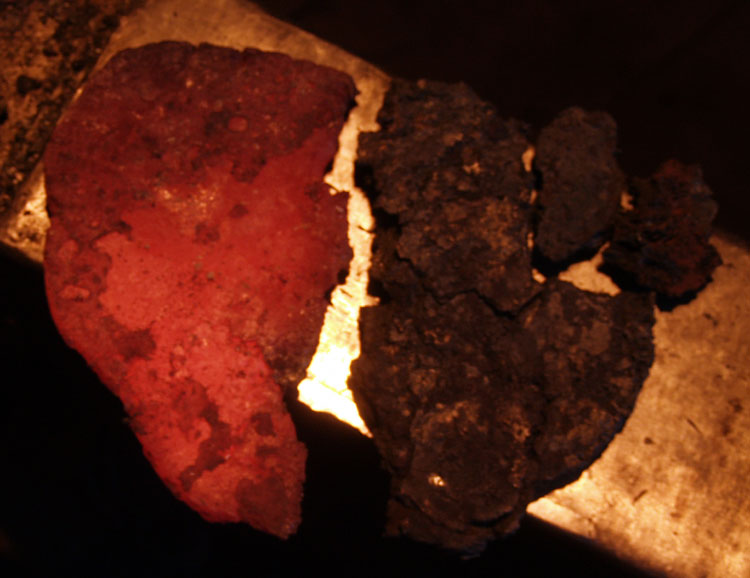
Sometimes you just have to know when its time to switch gears.
With almost all the damage on one half of the plate, I used a hot cut to divide the plate into roughly two half sections. The slightly larger piece, now at roughly 6 x 3 1/2 x 1/4 inch thick (684 gm), looked solid enough to continue working down towards a possible (smaller) bowl later.
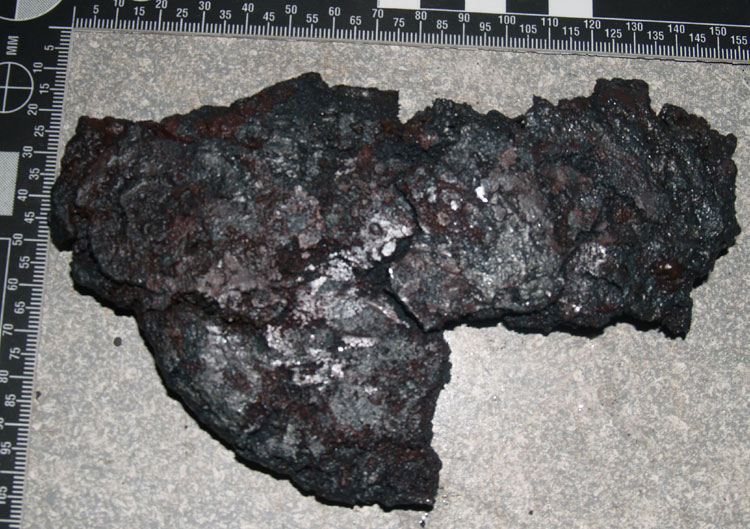
The major cracks on the other section were used like score lines to break up the piece. This piece was roughly the same dimensions, but with the bite out of one edge, the weight was 463 gm.
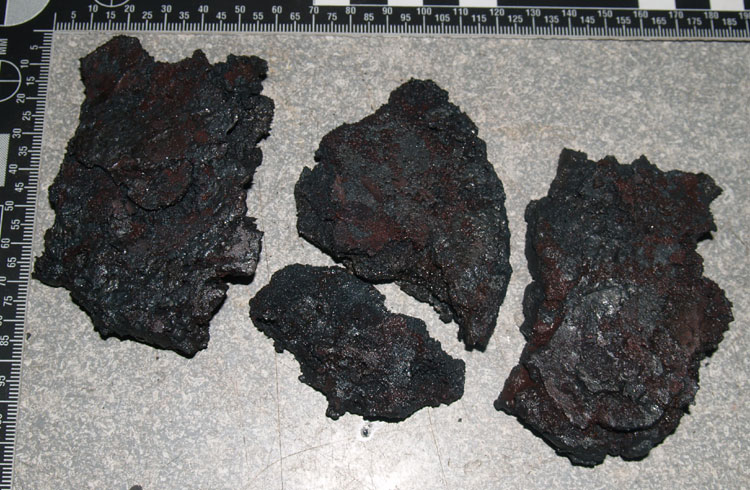
These were combined roughly in the relationship seen here. The two larger fragments making the two outer surfaces, the smaller plus one little piece (broken off earlier) placed into the centre.
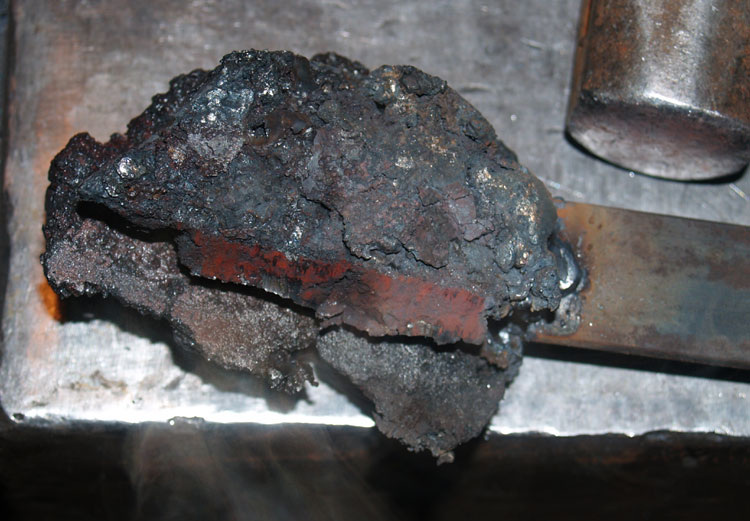
At this point I'm into a sequence that I have used a number of other times working up smaller bloom fragments.
The pieces are stacked, and tack MIG welded on one end to a mild steel bar and to each other. There is a total of 499 gm of bloom material. (This time I remember to weigh the handle separately!)
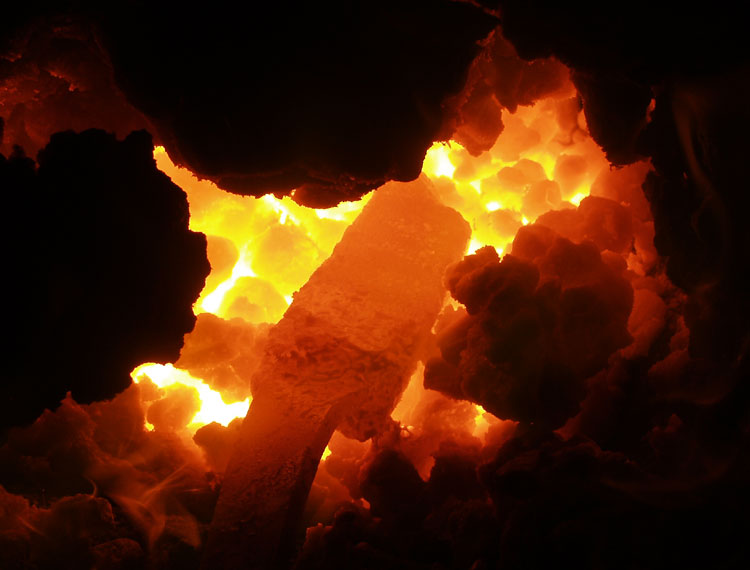
I've had a bit of a break, considering how to continue and cooling pieces to weigh and record. I also pull the bottom of the fire apart to clean it, and set up a new coke 'cavern' for proper forge welding. This is also much more familiar territory for me - a process much like I employ for layered steel. First there is a light fast hand weld to secure the pieces. This is followed with a heavier series of hand welding to make sure the pieces are well solidified. Although it is true bloom materials can contain a lot of glassy slag, I figure adding a bit more flux (borax in my use) can't actually *hurt* anything. I take care to get the ragged edges in the stack folded and welded in. Final compaction and drawing out is done on the air hammer.
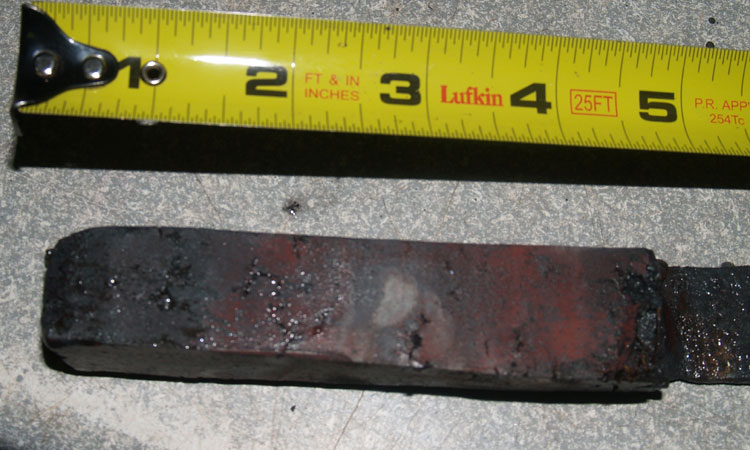
The result is a small billet, roughly 1 1/2 x 8 x 3/16 inches. You can see that there is a prominent crack along one surface.
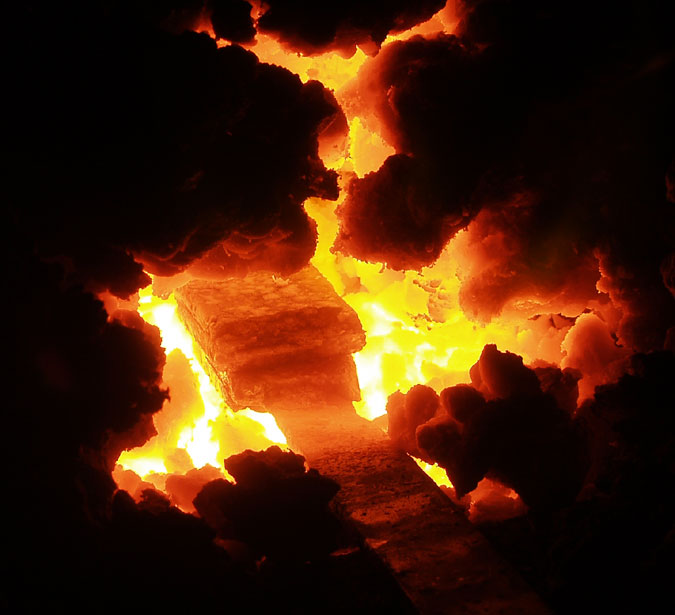
Deciding to work with the flaw, rather than against it, I use the hot cut to divide the billet along the crack. I had hoped to just score and fold (not normally what I do btw). The pieces actually separated. Perhaps not the absolutely wisest move, I decide to use a more 'japanese' technique - just balancing the two pieces in the fire and heating from the bottom. (Hey, it works for my friend Jesus Herandez...) Maybe a bit surprisingly, I manage to get a a good heat and successful weld. Under the air hammer, I work more aggressively *against* the last weld direction (so on the edges).
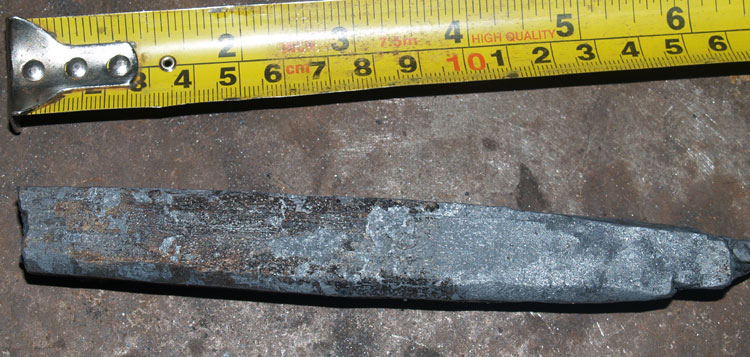
The end result of *three hours* is this finished small bar. Rough size is 5/8 x 1 x 4 1/2 inches at 357 gm.
Calculating the bloom to working bar loss is a bit rough here.
From bloom to cracked plate, the numbers are 1770 to 1223 = 69% return (so 31 % loss)
From plate pieces to bar the numbers are 499 to 357 = 72 % return (so 28 % loss)
Overall bloom to bar works out to 50% yield
(but bear in mind the material lost to that overheat)
(Thanks Neil!)
Notes
1) Important Note!
Remember that the purpose of the whole project is for me to accumulate some (necessary!) experience converting blooms into working bars, and hopefully then into objects. Obviously what I've documented here is very much a *learning process* and should not be considered the 'best' way to accomplish a given task!
2) One other aspect of these images : The original higher resolution images have been transformed via Photoshop into web format detail. Generally the image size has been modified to roughly 8 x 10 inches. This, combined with the various camera positions, makes the scale of the individual images vary considerably. Some images are shot with scales, so remember to use those to determine relative sizes. For the images shot on the anvil surface, the width of the anvil is 4 1/2 inches.
3) Lee Sauder uses a side blast set up when he works blooms. The clear advantage here is the the air flow comes in from one side edge (so spreads more evenly top and bottom over a cake or plate shape. More significantly, there is a lot of slag generated in the bloom to bar process. With a bottom blast, this material oozes to the bottom of the forge, effectively blocking part of the air blast. As this debris increases, the effect is to create hot jets of super heated oxygen. Effectively these act like small cutting torches inside the forge, which with poor attention (!) can have the effect of over heating (burning!) just part of the metal contained within the forge.
PS - Crunching the images, writing and formatting this essay has taken roughly three hours. I did need a bit of a break from a 'good week' at the forge. After lunch I'll get back out there and may have something to report on later!
If anyone is counting, today would be the 29th 'standard work day' on the project. Thats counting like it was normal days with weekends off.
In actual fact, according to my project diary, today counts as the 48th full day I've worked on the project.
You're getting your money's worth...


Good work Darrel , it takes a lot of time and you loose a lot of material.
ReplyDeleteFor my limonite blooms a sideblast charcoal forge works the best.